Cherry Chocolate Dream Cake That Will Steal Your Heart
Who doesn’t love the irresistible combination of rich chocolate and juicy cherries? If you’re looking to create a show-stopping dessert that’s as decadent as it is dreamy, this Cherry Chocolate Dream Cake is the perfect choice.
Thank you for reading this post, don't forget to subscribe!Whether you’re baking for a festive celebration, a special family gathering, or simply indulging your sweet tooth, this recipe delivers layers of chocolaty goodness balanced with bursts of fresh cherry flavor.
Want to dive deeper into the health benefits (and cautions) of key ingredients in this cake?
Explore USDA’s nutritional breakdown for cherries and Harvard experts’ insights on the role of dark chocolate flavonoids in heart and metabolic health
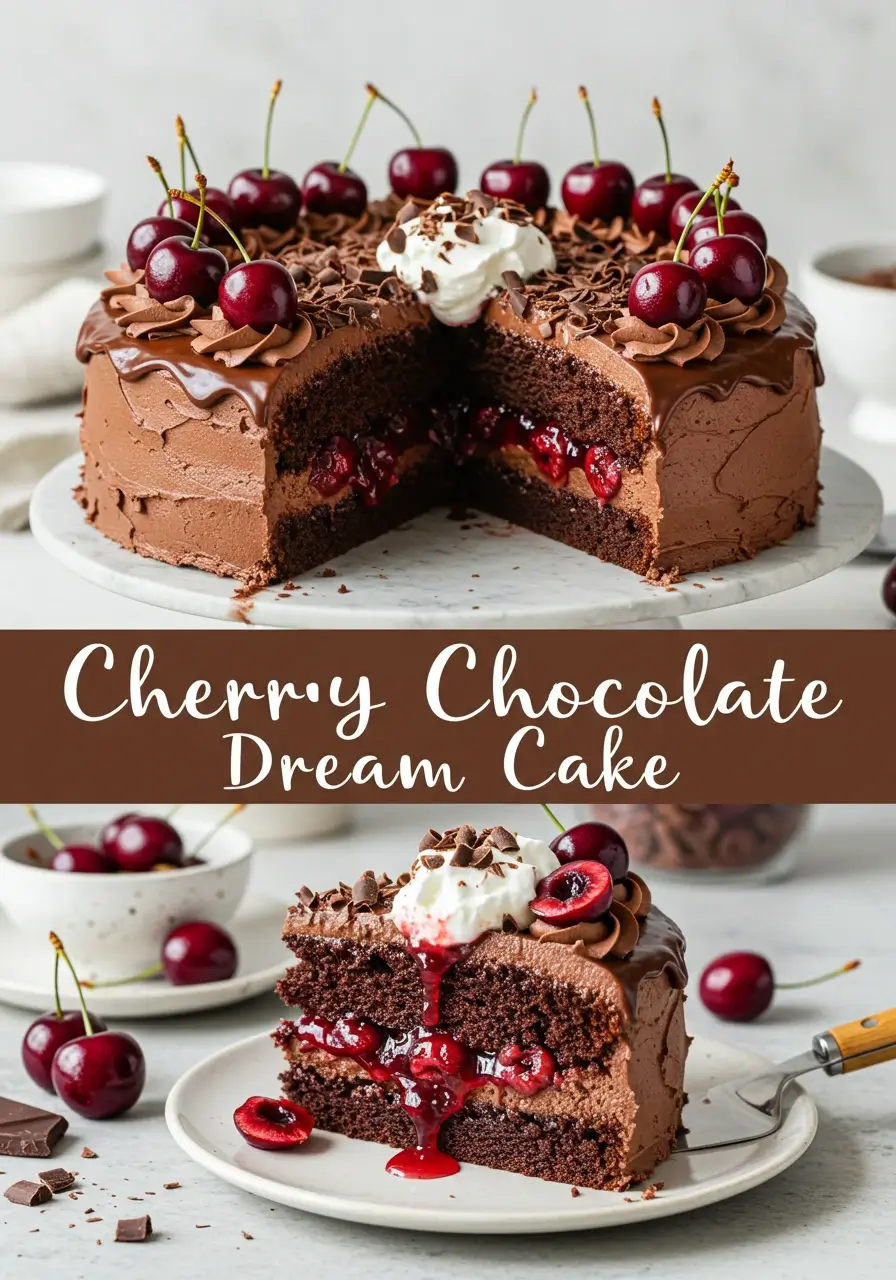
Cherry Chocolate Dream Cake That Will Steal Your Heart
Ingredients
Method
- 1.
- 2. Preheat oven to 350°F (175°C). Grease two 9-inch round cake pans and line bottoms with parchment paper.
- 3. In a large bowl, whisk together flour, cocoa powder, sugar, baking powder, baking soda, and salt.
- 4. Add eggs, milk, vegetable oil, and vanilla extract to dry ingredients; stir until combined.
- 5. Slowly stir in boiling water to create a thin batter.
- 6. Divide batter evenly between prepared pans; bake for 30–35 minutes, or until a toothpick comes out clean.
- 7. Cool cakes in pans for 10 minutes, then transfer to a wire rack to cool completely.
- 8. In a saucepan, combine cherries, sugar, cornstarch, water, and lemon juice; cook over medium heat for 5–7 minutes until thickened. Cool to room temperature.
- 9. Beat softened butter until creamy; gradually add powdered sugar and cocoa powder, mixing until smooth.
- 10. Add vanilla extract and heavy cream to frosting, adjusting cream for desired consistency.
- 11. Place one cake layer on a serving plate; spread cherry filling over the top.
- 12. Place second cake layer on top; frost entire cake with chocolate frosting.
- 13. Garnish with fresh cherries, chocolate shavings, and optional whipped cream.
- 14. Chill cake for 30 minutes to set frosting, then slice and serve.
- 15.
Nutrition
Notes
Tried this recipe?
Let us know how it was!Homemade cakes have a way of bringing people together, and this one is no exception. Imagine slicing into velvety layers, revealing the vibrant cherry filling and luscious frosting, it’s a dessert that’s as stunning as it is delicious. So, grab your apron, preheat the oven, and let’s dive into creating this unforgettable treat!
Table of Contents
Key Benefits of Making a Cherry Chocolate Dream Cake
Creating a Cherry Chocolate Dream Cake isn’t just about baking a dessert, it’s about crafting an experience. Here’s why this recipe will quickly become your go-to favorite:
- A Stunning Visual and Flavor Appeal
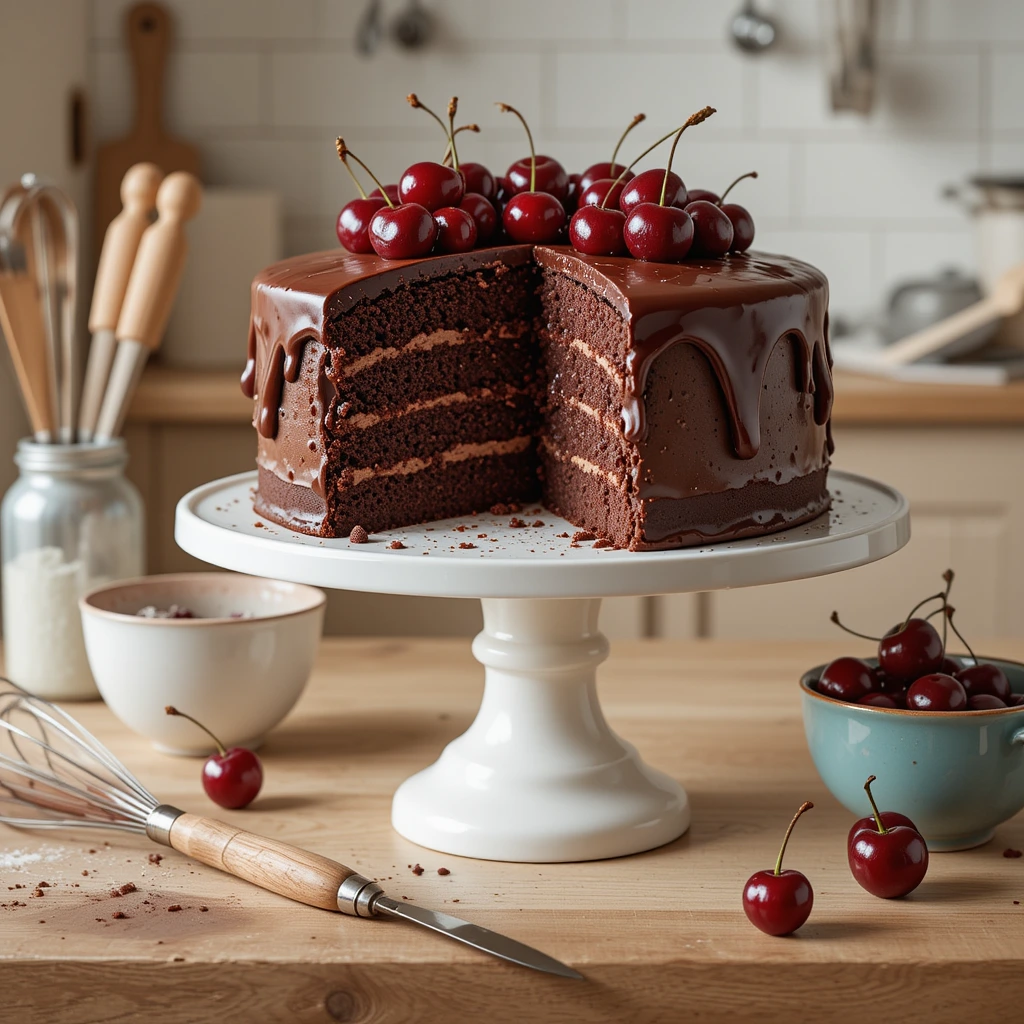
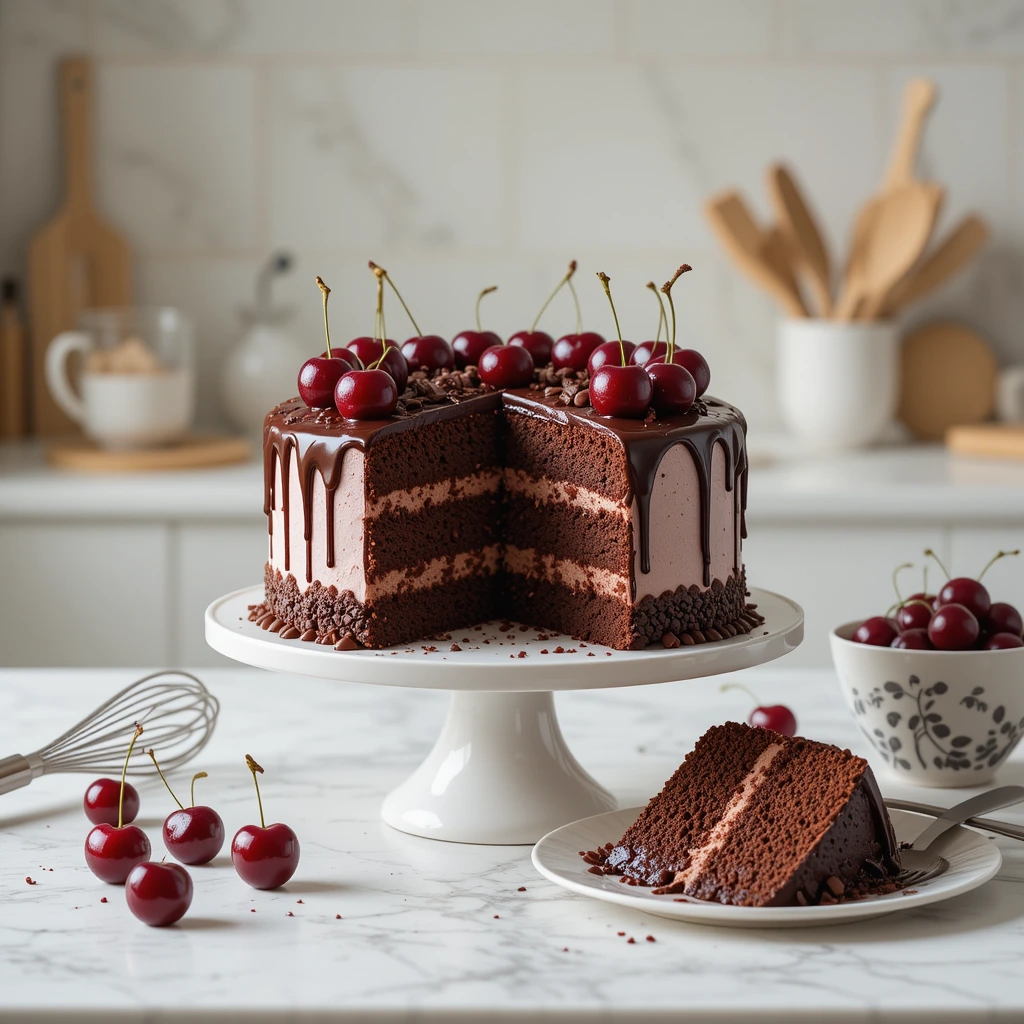
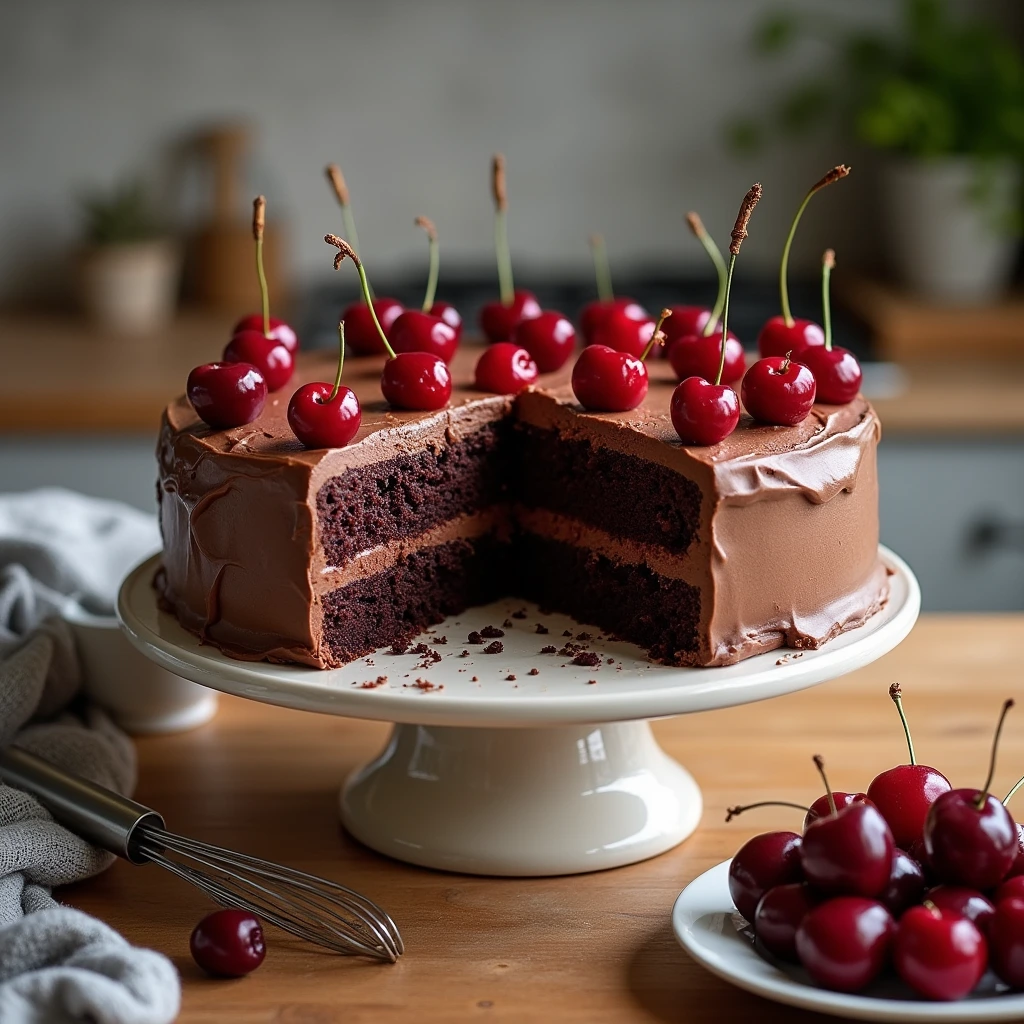
This cake is a true centerpiece, with its rich chocolate layers and vibrant cherry accents. It’s a dessert that looks as amazing as it tastes, making it perfect for celebrations, holidays, or any time you want to impress. - A Perfect Balance of Flavors
The deep, indulgent flavor of chocolate pairs beautifully with the bright, tart sweetness of cherries. This harmonious blend makes each bite satisfying without being overly rich. - Simple Yet Sophisticated
While this cake feels luxurious, it’s surprisingly easy to make. Using fresh, wholesome ingredients and straightforward techniques, you can create a bakery-worthy dessert right in your kitchen. - Customizable for Any Occasion
Whether you want to add extra layers, swap in your favorite type of chocolate, or experiment with toppings like whipped cream or cherry compote, this recipe is incredibly versatile. - Bringing People Together
Homemade desserts have a way of making moments special. Whether you’re baking with loved ones or serving it at a gathering, this cake is bound to create happy memories.
Take pride in knowing you’re creating a dessert that’s not only delicious but also heartfelt. Let’s get started on this culinary masterpiece!
Ingredients for Your Cherry Chocolate Dream Cake
Let’s gather everything you need to create this irresistible dessert. Each ingredient plays a key role in bringing out the rich chocolate and vibrant cherry flavors, so be sure to use the freshest and highest-quality items you can find!
For the Cake Layers:
- 1 ¾ cups (220g) all-purpose flour – The base for soft, tender cake layers.
- ¾ cup (65g) unsweetened cocoa powder – Opt for high-quality cocoa for a richer chocolate flavor.
- 2 cups (400g) granulated sugar – Balances the cocoa’s intensity and adds sweetness.
- 2 teaspoons baking powder – Ensures your cake rises perfectly.
- 1 ½ teaspoons baking soda – Works with the baking powder for a light, fluffy texture.
- 1 teaspoon salt – Enhances the overall flavor profile.
- 2 large eggs – Provides structure and moisture.
- 1 cup (240ml) whole milk – Adds richness and softens the batter.
- ½ cup (120ml) vegetable oil – Keeps the cake moist and tender.
- 2 teaspoons pure vanilla extract – Elevates the chocolate flavor.
- 1 cup (240ml) boiling water – Activates the cocoa powder for an ultra-rich taste.
For the Cherry Filling:
- 2 cups (300g) fresh or frozen cherries – Fresh cherries are ideal for a burst of natural sweetness, but frozen works just as well.
- ½ cup (100g) granulated sugar – Adjust according to the sweetness of your cherries.
- 2 tablespoons cornstarch – Thickens the filling to the perfect consistency.
- ¼ cup (60ml) water – Helps dissolve the cornstarch for a smooth texture.
- 1 tablespoon lemon juice – Adds brightness and balances the sweetness.
For the Chocolate Frosting:
- 1 cup (225g) unsalted butter, softened – A creamy base for the frosting.
- 3 ½ cups (440g) powdered sugar – Provides sweetness and structure.
- ½ cup (65g) unsweetened cocoa powder – For a deeply chocolatey frosting.
- 1 teaspoon pure vanilla extract – A hint of warmth to round out the flavors.
- 3–4 tablespoons (45–60ml) heavy cream – Adjust for your desired frosting consistency.
For Garnishing:
- Fresh cherries – A beautiful finishing touch.
- Chocolate shavings or curls – Adds elegance and extra chocolate flavor.
- Whipped cream – Optional, but highly recommended for an indulgent flair.
Pro Tip:
Measure all your ingredients before you start baking. It saves time and ensures a smooth process. Ready to get baking? Let’s turn these ingredients into the cake of your dreams!
Instructions for Making Cherry Chocolate Dream Cake
Ready to create a dessert masterpiece? Let’s walk through each step to make your Cherry Chocolate Dream Cake a reality. Gather all your ingredients, put on your favorite apron, and let’s begin!
Step 1: Prepare Your Baking Essentials
- Preheat the Oven
Set your oven to 350°F (175°C). Preheating ensures your cake bakes evenly and achieves that perfect rise. - Prepare the Cake Pans
Grease two 9-inch round cake pans to ensure the cakes release easily. For hassle-free removal, line the bottoms with parchment paper. This step is crucial to prevent sticking and to maintain the cake’s beautiful shape. - Organize Your Workspace
Gather all your ingredients and measuring tools. Having everything at hand makes the baking process smooth and enjoyable, reducing any last-minute scrambles.
Step 2: Mix the Cake Batter
- Combine Dry Ingredients
In a large mixing bowl, whisk together:- 1 ¾ cups all-purpose flour
- ¾ cup unsweetened cocoa powder
- 2 cups granulated sugar
- 2 teaspoons baking powder
- 1 ½ teaspoons baking soda
- 1 teaspoon salt
- Whisking these ingredients thoroughly ensures an even distribution, which is key for a uniform cake texture.
- Add Wet Ingredients
To the dry mixture, add:- 2 large eggs
- 1 cup whole milk
- ½ cup vegetable oil
- 2 teaspoons pure vanilla extract
- Stir the mixture until the batter thoroughly combined. This blend of wet and dry ingredients creates the cake’s rich and moist foundation.
- Incorporate Boiling Water
Slowly pour in 1 cup boiling water, stirring continuously. This step intensifies the chocolate flavor, resulting in a rich and moist batter. Don’t worry if the batter seems thin-it’s exactly what you want for that dreamy texture.
Step 3: Bake the Cake Layers
- Divide the Batter
Carefully allocate the batter evenly into the prepared cake pans. Using a kitchen scale or measuring cup ensures that both layers bake uniformly. - Bake to Perfection
Insert the prepared pans into the preheated oven and bake for 30–35 minutes. The cakes are done when a toothpick inserted into the center comes out clean. Keep an eye on them to avoid overbaking, which can dry out the cake. - Cool the Cakes
Let the cakes rest in their pans for approximately 10 minutes, then move them to a wire rack to cool completely. This cooling process prevents the cakes from becoming soggy and makes them easier to handle during assembly.
Step 4: Prepare the Cherry Filling
- Cook the Cherries
In a medium saucepan, combine:- 2 cups fresh or frozen cherries
- ½ cup granulated sugar
- 2 tablespoons cornstarch
- ¼ cup water
- 1 tablespoon lemon juice
- Cook over medium heat, stirring constantly, until the mixture thickens and the cherries soften, approximately 5–7 minutes. This creates a luscious, jam-like filling that complements the chocolate layers beautifully.
- Cool the Filling
Remove the saucepan from the heat and let the cherry filling cool to room temperature. Cooling ensures that the filling spreads smoothly between the cake layers without melting the frosting.
Step 5: Make the Chocolate Frosting
- Beat the Butter
In a large bowl, beat 1 cup unsalted butter, softened until creamy using an electric mixer. Creamed butter forms the base of a smooth and rich frosting. - Add Dry Ingredients
Gradually add:- 3 ½ cups powdered sugar
- ½ cup unsweetened cocoa powder
- Mix until well combined. Incorporating these ingredients slowly prevents the sugar from flying out of the bowl and ensures a silky texture.
- Incorporate Vanilla and Cream
Add 1 teaspoon pure vanilla extract and 3–4 tablespoons heavy cream, one tablespoon at a time, until the frosting reaches a smooth, spreadable consistency. Adjust the cream as needed to achieve your desired texture.
Step 6: Assemble the Cake
- Layer the First Cake
Place the first cooled cake layer on your serving plate or cake stand. Spread a generous layer of cherry filling evenly over the top. This vibrant layer adds both flavor and visual appeal. - Add the Second Layer
Gently place the second cake layer over the filling to complete your cake assembly. Press gently to ensure the layers stick together seamlessly. - Frost the Cake
Using a spatula, apply a thick layer of chocolate frosting over the entire cake, smoothing it out for a polished finish. Don’t worry if it’s not perfect on the first try—the next step will help refine it.
Step 7: Garnish and Set
- Add Finishing Touches
Decorate the cake with fresh cherries, chocolate shavings, or curls for an elegant look. A dollop of whipped cream adds an extra touch of indulgence and visual appeal. - Chill the Cake
Place the assembled cake in the refrigerator for at least 30 minutes. This allows the frosting to set and the flavors to meld beautifully, making the cake easier to slice.
Step 8: Serve and Enjoy
- Slice and Serve
Use a sharp knife to slice the cake, revealing the luscious layers inside. Each bite offers a perfect balance of rich chocolate and sweet cherry, sure to delight your taste buds. - Pair with Beverages
Serve your Cherry Chocolate Dream Cake with a cup of coffee, tea, or a glass of milk for the ultimate dessert experience. These pairings enhance the flavors and provide a satisfying conclusion to any meal.
Pro Tip:
For an extra burst of flavor, try adding a splash of cherry liqueur to the cherry filling. It adds depth and enhances the natural sweetness of the cherries. Savor your baking journey and delight in the delicious results!
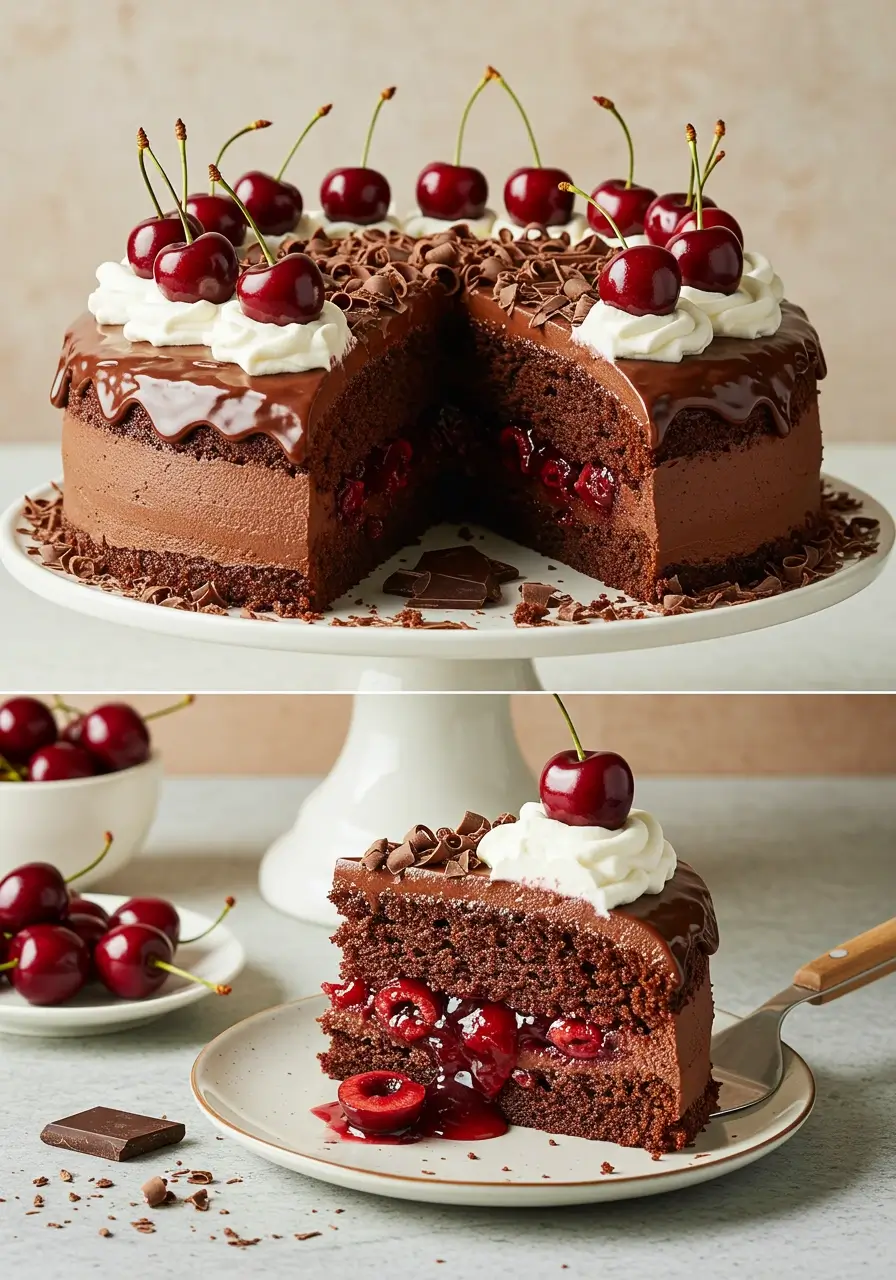
Pro Tips and Variations for Cherry Chocolate Dream Cake
Creating the perfect Cherry Chocolate Dream Cake is a joyful experience, and with these pro tips and creative variations, you’ll feel like a dessert maestro in no time. Whether you’re a seasoned baker or trying this recipe for the first time, these insights will take your cake to the next level.
Pro Tips for Baking Success
- Room Temperature Ingredients
Bring your eggs, butter, and milk to room temperature before mixing. This ensures a smoother batter and helps the cake layers bake evenly. - Measure Precisely
Baking is a science! Use measuring cups for dry ingredients and a liquid measuring cup for wet ingredients to ensure perfect proportions. - Don’t Overmix
When combining wet and dry ingredients, mix until just incorporated. Overmixing can lead to a dense cake instead of the light and fluffy texture you’re aiming for. - Cool Completely Before Frosting
Frosting a warm cake can be a disaster, it’ll melt and slide off. Let your cake layers cool completely to ensure a flawless finish. - Use High-Quality Cocoa and Chocolate
Since chocolate is the star flavor, opt for premium cocoa powder and chocolate. It truly makes a difference in taste and richness. - Even Layers Every Time
To achieve uniform layers, use a kitchen scale to divide the batter evenly between your pans. This small step makes your cake look professionally done.
Fun Variations to Try
- Cherry-Liqueur Infusion
Add a tablespoon of cherry liqueur (such as Kirsch) to the cherry filling or the cake batter for an extra depth of flavor and a subtle boozy twist. - Dark Chocolate Ganache Drip
Elevate your cake’s elegance with a glossy ganache drip. Heat ½ cup heavy cream and pour it over 1 cup chopped dark chocolate, stirring until smooth. Drizzle along the edges for a bakery-worthy presentation. - Black Forest Inspired
For a Black Forest cake vibe, layer whipped cream between the cake layers in addition to the cherry filling. Top with extra cherries and chocolate curls. - Gluten-Free Option
Swap the all-purpose flour with a gluten-free 1:1 baking blend. Ensure your other ingredients, like cocoa powder, are also gluten-free. - Vegan Twist
Replace eggs with flaxseed meal (1 tablespoon flaxseed + 3 tablespoons water per egg), use almond or oat milk, and substitute butter with coconut oil or vegan butter. - Extra Fruity Flavor
Incorporate a handful of chopped cherries into the batter for added bursts of fruity goodness in every bite.
Time-Saving Hacks
- Pre-Made Filling
Short on time? Use high-quality canned cherry pie filling instead of making it from scratch. It’s a quick and delicious alternative. - One-Bowl Wonder
If you want to minimize cleanup, mix your batter in one large bowl. Start with the dry ingredients, then fold in the wet. - Freeze for Later
You can bake the cake layers ahead of time and freeze them. Wrap each layer tightly in plastic wrap and store for up to a month. Thaw at room temperature when ready to assemble.
These pro tips and variations ensure that your Cherry Chocolate Dream Cake is both foolproof and flexible. Experiment, have fun, and make this recipe truly your own! Whether you stick to the classic version or try a new twist, your cake will be a delicious centerpiece everyone will love.
Serving Suggestions for Cherry Chocolate Dream Cake
You’ve baked your stunning Cherry Chocolate Dream Cake, and now it’s time to serve it in style. Here are some serving ideas and pairing suggestions to make every slice a memorable experience.

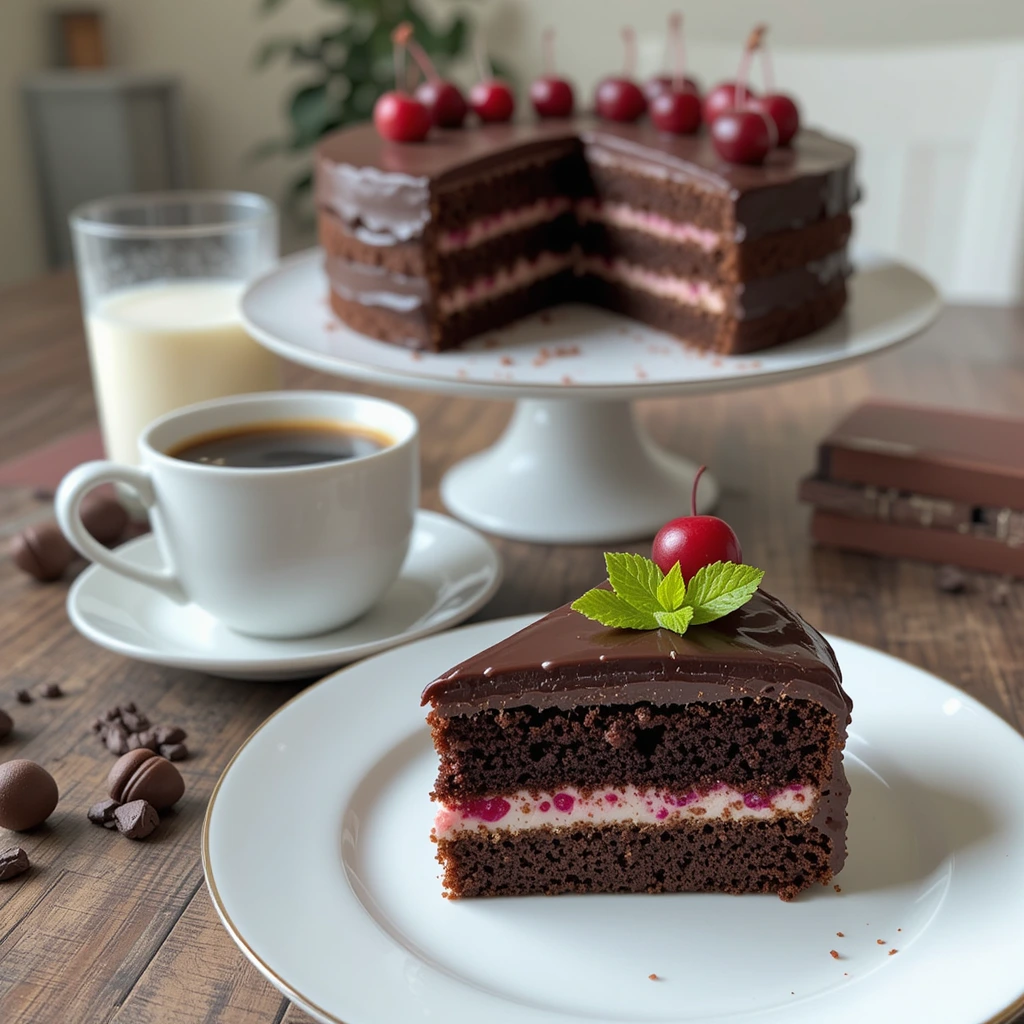
Best Ways to Serve
- Chilled for a Firm Texture
After assembling the cake, chill it in the refrigerator for at least 30 minutes. This helps the frosting set and makes slicing clean and effortless. Serve cold for a firmer texture that highlights the rich chocolate and cherry flavors. - Room Temperature for a Softer Bite
If you prefer a softer, melt-in-your-mouth experience, let the cake sit at room temperature for about 15–20 minutes before serving. This brings out the cake’s full flavors and creates a creamy consistency for the frosting. - Show-Stopping Presentation
Use a sharp knife to cut clean slices. Wipe the knife with a damp cloth between cuts for picture-perfect layers. Place each slice on a dessert plate and garnish with a fresh cherry or a swirl of whipped cream for a professional touch.
Perfect Pairings
- Coffee or Espresso
The deep, robust flavor of coffee beautifully complements the cake’s rich chocolate layers. Serve with freshly brewed coffee or a shot of espresso for an elegant pairing. - Black Tea or Herbal Infusions
A warm cup of black tea (like Earl Grey) or a light herbal infusion (like mint or chamomile) provides a soothing balance to the cake’s decadent sweetness. - Ice Cream on the Side
A scoop of vanilla bean or chocolate ice cream adds a creamy contrast to the moist cake. For an extra indulgent touch, try cherry-flavored ice cream to mirror the cake’s fruity notes. - Festive Drinks
If you’re celebrating, pair the cake with a glass of sparkling wine, cherry liqueur, or a fruity red wine like Pinot Noir. These beverages enhance the cherry and chocolate flavors beautifully.
Occasions to Enjoy
- Birthdays and Celebrations
With its stunning presentation and indulgent taste, this cake makes the perfect centerpiece for any special occasion. - Holiday Gatherings
Add a festive touch by garnishing with holiday-themed toppings like edible gold flakes, sugared cherries, or a dusting of powdered sugar. - Everyday Indulgence
Who says you need a reason to enjoy dessert? Treat yourself to a slice as an afternoon pick-me-up or a post-dinner treat.
Pro Tip for Leftovers
If you’re lucky enough to have leftovers, store the cake in an airtight container in the refrigerator. It will stay fresh for up to three days and tastes even better the next day as the flavors deepen. For longer storage, freeze individual slices and thaw as needed for a quick dessert fix.
Serving this Cherry Chocolate Dream Cake is as much an experience as baking it. Whether you’re hosting a party or savoring a quiet moment, these suggestions will help you make the most of every decadent bite. Enjoy!
FAQs About Cherry Chocolate Dream Cake
Got questions about making this decadent Cherry Chocolate Dream Cake? Here are the answers to some common queries to ensure your baking experience is smooth and enjoyable.
Can I use canned cherries instead of fresh or frozen?
Absolutely! High-quality canned cherries or cherry pie filling work well, especially if fresh cherries are out of season. Just be sure to drain excess syrup to avoid a runny filling.
Can I make this cake ahead of time?
Yes, you can! Bake the cake layers a day ahead, wrap them securely in plastic wrap, and store at room temperature. Assemble and frost the cake on the day of serving for the freshest presentation.
What can I serve with this cake?
Pair it with coffee, tea, or a glass of milk for a classic combination. For a more festive pairing, serve it with sparkling wine or cherry liqueur to enhance the cake’s rich flavors.
Conclusion
Congratulations on creating your very own Cherry Chocolate Dream Cake! With its rich chocolate layers, luscious cherry filling, and velvety frosting, this dessert is truly a showstopper. Whether you crafted it for a special occasion or just to indulge your sweet tooth, this cake is sure to impress and delight.
Remember, the beauty of this recipe lies in its versatility. From festive celebrations to casual gatherings, it’s a dessert that fits every occasion. Plus, with the pro tips and variations shared earlier, you can make it uniquely yours each time you bake it.
As you slice into your masterpiece, take a moment to appreciate the balance of flavors – the deep, decadent chocolate paired with the bright, fruity cherries creates a combination that’s nothing short of magical. Serve it with your favorite beverage, enjoy the compliments that are bound to come your way, and most importantly, savor every bite!
If you tried this recipe, I’d love to hear about your experience! Did you stick with the classic version or experiment with a fun twist? Share your thoughts, tips, and even photos in the comments. Let’s inspire each other to bake more delicious creations!
Happy baking, and don’t forget, every cake you make is a testament to your creativity and love for good food. Here’s to many more sweet adventures in the kitchen!

