Drumstick Ice Cream Cake
Drumstick Ice Cream Cake
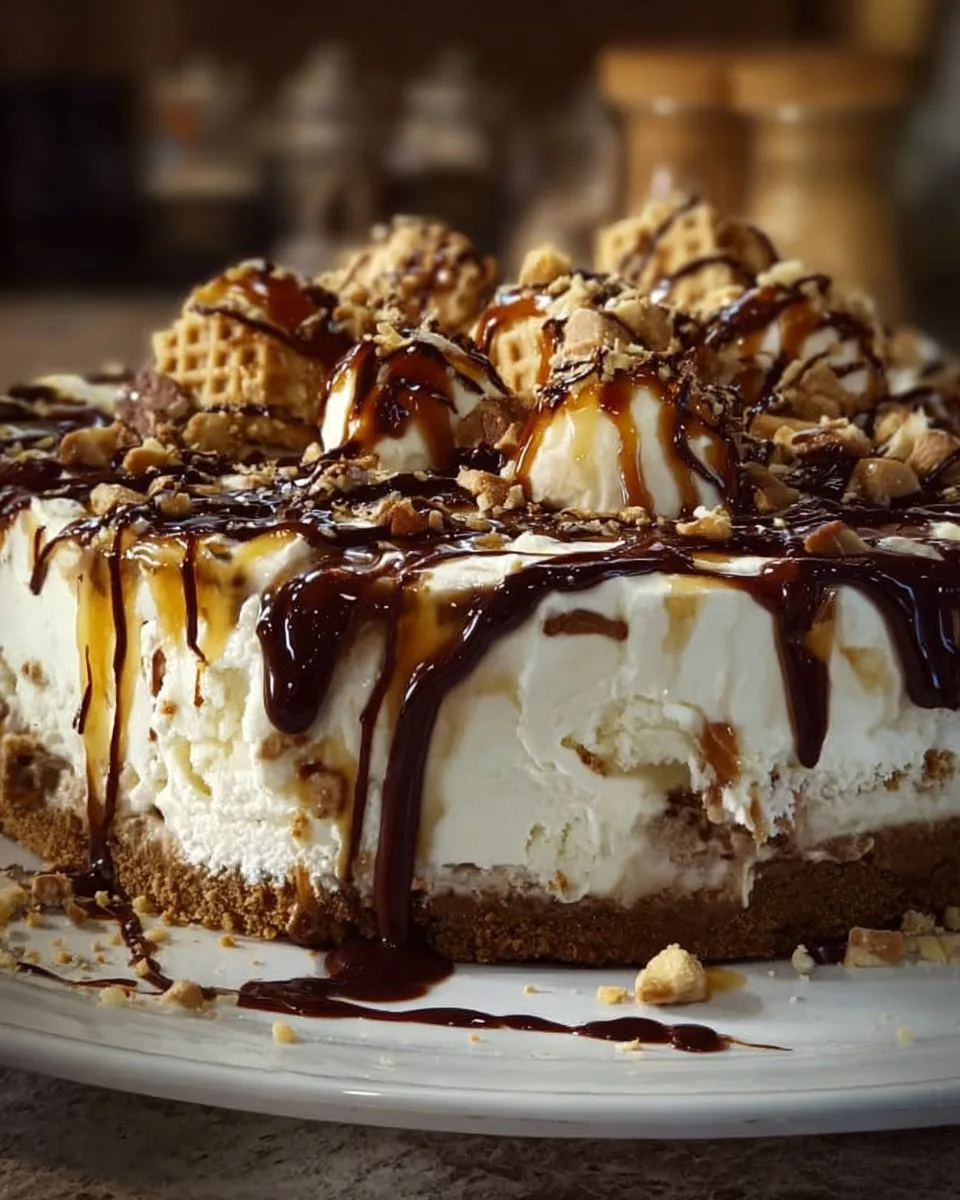
Drumstick Ice Cream Cake brings the crunchy cone, creamy vanilla, chocolate fudge, and crushed peanuts into one frozen treat. This recipe layers a sugar cone crust with vanilla ice cream and chocolate fudge for a nostalgic, party-ready dessert. It looks impressive, but it stays simple. You can make it ahead and serve it to a crowd.
Why You’ll Love This Drumstick Ice Cream Cake
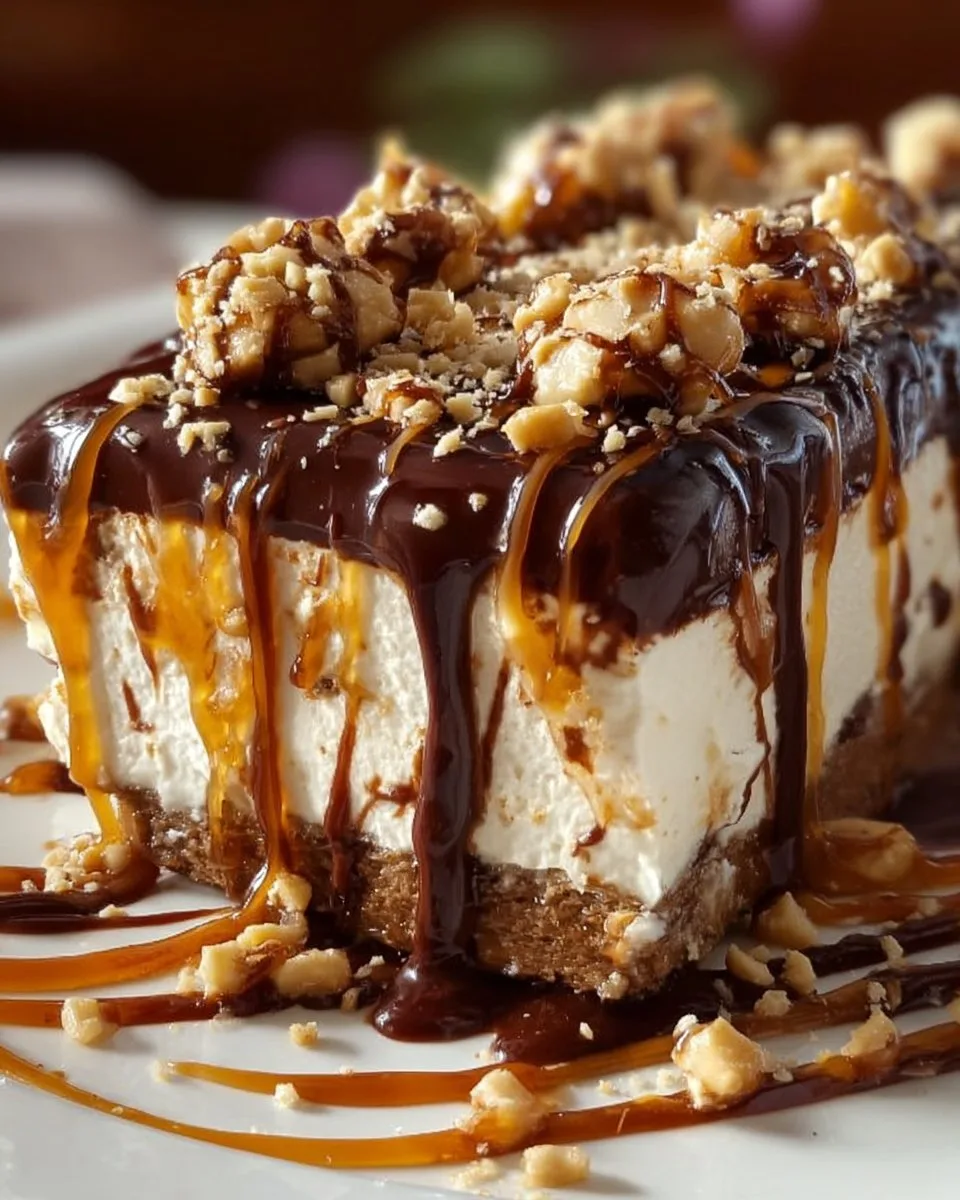
This Drumstick Ice Cream Cake delivers classic drumstick flavors in a sliceable cake. The cone crust adds a toasty crunch. The vanilla ice cream keeps the bite cool and creamy. Chocolate fudge and peanuts add rich texture. It works for birthdays, summer gatherings, or a cozy treat at home. You will spend little time in the kitchen and get a big payoff on the table.
How to Make Drumstick Ice Cream Cake
Ingredients:
- Vanilla ice cream
- Chocolate fudge
- Crushed peanuts
- Sugar cones
- Butter
- Sugar
- Flour
- Eggs
- Milk
- Vanilla extract
Ingredient Notes:
- Use store-bought vanilla ice cream or make your own if you prefer.
- If you want a nut-free cake, swap crushed peanuts for toasted oats or crushed pretzels.
- Pick a thick chocolate fudge or a pourable hot fudge sauce. If you only have a thin sauce, chill it until slightly thickened.
- For a firmer crust, use a bit more melted butter. For a lighter crust, reduce butter by one tablespoon.
- Sugar cones can be replaced with waffle cones if you prefer a different texture.
- The listed flour, eggs, milk, and sugar are optional for a simple cake base; you can adapt the crust or bake a thin cake layer instead.
Step-by-Step Instructions:
- Preheat oven to 350°F (175°C).
- Crush sugar cones and mix with melted butter and sugar to form a crust. Press into a cake pan and bake for 10 minutes.
- Allow the crust to cool.
- Spread a layer of vanilla ice cream on top of the cooled crust and freeze until set.
- Drizzle chocolate fudge over the ice cream layer and sprinkle crushed peanuts.
- Add another layer of vanilla ice cream and freeze until solid.
- Decorate with more chocolate fudge and peanuts before serving.
Notes on steps:
- Crush cones finely for a smooth crust. Use a food processor or place cones in a bag and crush with a rolling pin.
- Press the mixture firmly into the pan so it holds when sliced. Use a flat-bottomed cup to press it evenly.
- Freeze between layers at least 1–2 hours, or until each layer is firm. For a metal pan, freezing times may be shorter.
- To get clean slices, let the cake sit at room temperature for 3–5 minutes before slicing. Run a hot, dry knife through each cut.
How to Serve Drumstick Ice Cream Cake
Serve this cake straight from the freezer for the best texture. Let slices sit for a few minutes at room temperature so the ice cream softens slightly. Add a scoop of extra vanilla beside the slice for guests who want more creaminess. Garnish with extra crushed peanuts and a drizzle of warmed chocolate fudge. Use a warmed knife for clean edges and serve on chilled plates when possible.
How to Store Drumstick Ice Cream Cake
Store the cake in the freezer. Wrap it tightly with plastic wrap or place it in an airtight container. Press plastic directly on the surface to prevent ice crystals. Keep it frozen for up to 2 weeks for best taste and texture. If you store it longer, the texture may dry or form ice crystals. Thaw slices in the fridge for 10–15 minutes before serving if you need to soften them a bit.
Tips to Make Drumstick Ice Cream Cake Perfect
- Use high-quality vanilla ice cream. A richer ice cream gives better flavor and texture.
- Work quickly when layering to avoid melting. Keep a freezer space ready.
- Chill the serving plates ahead of time to keep slices firm while guests eat.
- If your fudge is thick, warm it slightly to make it easy to drizzle. If it is thin, chill it until it thickens.
- Toast peanuts lightly in a dry skillet for a fresher, deeper nut flavor before sprinkling.
Flavor Variations
- Chocolate Vanilla Drumstick: Use chocolate ice cream for the second layer and vanilla for the first. Add white chocolate drizzle on top.
- Caramel Pretzel Drumstick: Swap peanuts for crushed pretzels and drizzle salted caramel instead of chocolate fudge.
- Nut-Free Drumstick: Replace crushed peanuts with crushed toasted oats or crushed honey graham crackers.
- Mocha Drumstick: Fold a tablespoon of instant coffee into the ice cream for a light coffee flavor, then layer with chocolate fudge.
- Fruit Twist: Add a thin layer of frozen chopped strawberries between ice cream layers for a fruity note. Press the fruit into the ice cream and re-freeze.
Pro Tips for Success
- Freeze in a metal cake pan for faster set times. Metal transfers cold quickly and firms the layers faster.
- Label the cake with the date if you store it longer than a few days. This helps track freshness.
- If you plan to transport the cake, pack it with dry ice or frozen gel packs in a cooler to keep it solid.
- For even layers, measure the ice cream by weight or use an ice cream scoop to portion evenly.
- Clean cuts come from a knife dipped in hot water and wiped dry between slices.
FAQs About Drumstick Ice Cream Cake
Q: Can I make this cake dairy-free?
A: Yes. Use dairy-free vanilla ice cream made from almond, coconut, or oat milk. Pick a dairy-free chocolate fudge and ensure the crushed peanuts and cones do not include dairy additives. The texture can change slightly, but it still freezes well. Freeze each layer fully before adding the next to keep the structure intact.
Q: How long should I freeze the cake between layers?
A: Freeze until the layer is firm to the touch, usually 1–3 hours depending on your freezer. A metal pan or shallow layers speed this up. Make sure each layer is solid so the next layer does not melt into it. Overnight freezing after the final layer gives the best slicing results.
Q: Can I prepare the crust differently?
A: Yes. Instead of a cone crust, you can bake a thin sponge cake or use crushed graham crackers mixed with butter. The cone crust gives the classic drumstick crunch, but a cake layer adds softness. Adjust baking time if you use an alternate crust.
Q: How do I prevent ice crystals on the cake?
A: Press plastic wrap directly onto the surface to reduce air exposure. Store in an airtight container. Avoid repeated thawing and refreezing. Cool the cake completely before wrapping to reduce moisture that forms crystals.
Q: Is it possible to make individual Drumstick Ice Cream Cakes?
A: Absolutely. Use muffin tins or small springform pans lined with plastic wrap. Press the cone crust into each cup and layer ice cream, fudge, and peanuts. Freeze until solid, then unmold. Individual cakes make great party portions.
Q: Can kids help with this recipe?
A: Yes. Kids can help crush cones, press the crust, sprinkle peanuts, and drizzle fudge with supervision. Have them spoon softened ice cream into the pan or decorate the top. Just remind them to work quickly to avoid melting.
Final Thoughts
This Drumstick Ice Cream Cake turns familiar cone flavors into a sliceable dessert. It balances crunchy, creamy, and chocolatey textures. The recipe adapts well to preferences and dietary needs. Make it a day ahead for a stress-free dessert that looks special and tastes nostalgic.
Drumstick Ice Cream Cake
Ingredients
Method
- Preheat oven to 350°F (175°C).
- Crush sugar cones and mix with melted butter and sugar to form a crust. Press into a cake pan and bake for 10 minutes.
- Allow the crust to cool.
- Spread a layer of vanilla ice cream on top of the cooled crust and freeze until set.
- Drizzle chocolate fudge over the ice cream layer and sprinkle crushed peanuts.
- Add another layer of vanilla ice cream and freeze until solid.
- Decorate with more chocolate fudge and peanuts before serving.